



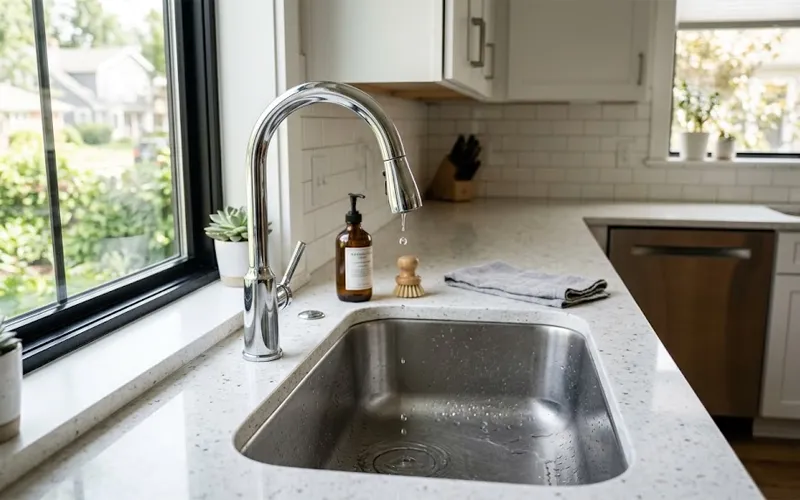
A dripping faucet may look like a minor household problem, but a constant drip can waste water, create annoying sounds, and sometimes point to a worn or damaged internal component. In many cases, you do not need to replace the entire faucet. If you are learning how to fix a dripping faucet step by step, a careful inspection can help you find the faulty part and determine whether a simple repair is possible.
Most faucet drips are caused by worn washers, damaged cartridges, deteriorated O-rings, mineral deposits, or problems with the valve mechanism. The exact repair depends on the type of faucet and the location of the leak. With basic tools, the correct replacement part, and a methodical approach, many common faucet problems can be handled at home.
Check the Faucet Type and Locate the Leak
Start by determining what type of faucet you have. A faucet with one handle commonly uses a cartridge, ceramic disc, or ball mechanism, while many two-handle faucets use separate valves or compression-style components. Knowing the design makes it easier to understand which parts you will need to inspect. This is especially important when learning how to fix a leaky faucet single handle because its internal mechanism can be different from a traditional two-handle design.
Next, observe where the water appears. If water continues to come out of the spout after the faucet is completely turned off, the internal valve, cartridge, washer, or related sealing surface may not be closing properly. Water around a handle can indicate a worn O-ring or seal. Water underneath the sink may instead come from a supply connection, hose, or another plumbing joint. In a bathroom, also check whether the dripping is coming from the faucet itself or from a nearby connection. This first inspection is useful for anyone searching for how to fix a dripping faucet step by step bathroom because bathroom faucets can have different layouts and connections.
Do not begin removing parts until you know which area needs attention. Taking a clear photo of the assembled faucet can also be useful because it gives you a reference when reassembling the components later. If you are working on a shower faucet, identify the exact point where water continues to appear before taking the handle or trim apart. This is particularly important when following how to fix a dripping faucet step by step shower, as the leak may come from the faucet valve rather than the showerhead itself.
Tools and Replacement Parts You May Need
Before starting the repair, gather the basic tools and replacement parts you may need. Depending on the faucet design, a screwdriver, Allen key, adjustable wrench, pliers, towel, and a small container can be useful for removing the handle and catching leftover water. You may also need a replacement washer, cartridge, O-ring, valve component, or other seal if the original part is damaged.
The exact replacement part depends on your faucet type and model. If possible, keep the old component after removing it so you can compare its size and shape with the new one. Checking the manufacturer’s model information before buying a replacement can also help you avoid purchasing a part that does not fit correctly.
Having the right tools and replacement part ready before disassembly can make the repair easier and reduce the need to stop midway through the process. You do not need a large collection of plumbing tools for most basic faucet repairs, but using the correct tool for each fastener helps prevent damage to the faucet. Although some people look for how to fix a leaky faucet without tools, most internal repairs require at least one suitable tool to remove the handle or secure components safely.
Shut Off the Water Supply
Before disassembling anything, turn off the water supply. For a sink faucet, the shutoff valves are usually positioned underneath the sink. Turn the appropriate valve clockwise until it is closed. If the faucet has separate hot and cold supplies, shut off both sides. This is an essential part of how to fix a dripping faucet step by step because it prevents water from flowing while the internal parts are being removed.
Open the faucet afterward and allow the remaining water in the line to drain. This releases pressure and reduces the amount of water that may spill during the repair.
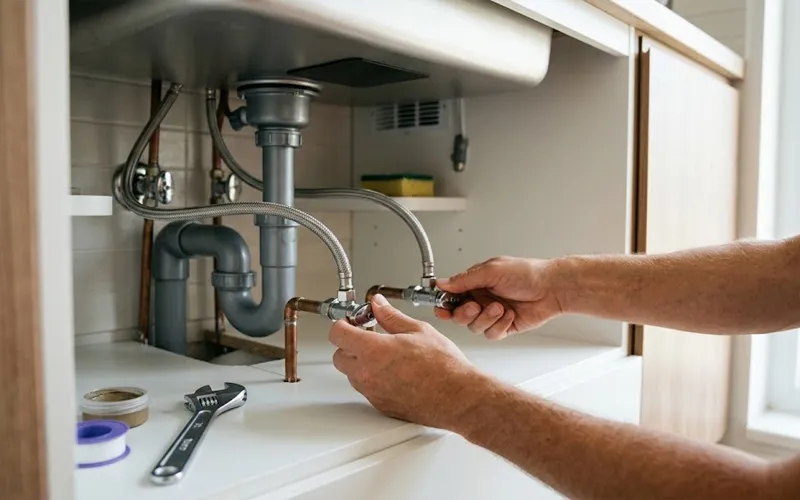
If a shutoff valve is stuck, damaged, or fails to stop the water, do not force it aggressively. Depending on the plumbing arrangement, you may need to shut off the main household water supply before continuing.
Place a towel or shallow container beneath the faucet area to catch residual water. This keeps the cabinet or countertop cleaner and makes small spills easier to manage.
Remove the Handle and Expose the Mechanism
Look closely at the handle to find its retaining screw. Some designs have a visible screw, while others hide it beneath a decorative cap. Depending on the faucet, you may need a screwdriver or Allen key.
Remove the fastener and gently lift the handle away. Older faucets can become difficult to disassemble because of mineral buildup or corrosion. If the handle does not move easily, work gradually rather than applying excessive force, which can damage the fixture.
Once the handle is removed, you should be able to see the retaining nut, clip, or other component holding the internal mechanism in position. Keep small screws and parts together so they do not get lost. Some minor faucet adjustments can be done by hand, but most internal repairs require at least a basic screwdriver or the appropriate faucet tool.
Inspect the Valve or Cartridge
The internal mechanism controls how water enters and stops flowing through the faucet. Carefully inspect it for visible wear, cracks, corrosion, mineral buildup, or damaged sealing surfaces. Knowing what to inspect is an important part of understanding how to fix a dripping faucet step by step rather than replacing the whole fixture unnecessarily.
For a cartridge faucet, check whether the cartridge shows signs of deterioration or whether its seals appear worn. In a traditional faucet, inspect the washer and valve components for flattening, cracking, or other damage. A faucet that uses a ball mechanism may require inspection of the ball, seats, and springs.
At this stage, avoid replacing parts simply because they look old. Focus on the component that can reasonably explain the leak. If the faucet design is unfamiliar, note the manufacturer’s name and model number before purchasing replacement parts.
For a single-handle bathroom faucet, the cartridge is often one of the main components to inspect when water continues dripping from the spout after the handle is closed. This is a common consideration when learning how to fix leaky faucet single handle bathroom problems. However, the exact repair still depends on the faucet design and the condition of its internal seals.
Replace the Faulty Component
Once you identify the damaged component, remove it carefully. A worn washer should be replaced with one that matches the original size and shape. An incorrect washer may not seal properly and can cause the faucet to continue dripping.
If the cartridge is defective, remove it according to the faucet’s design and compare the old component with the replacement before installation. Cartridges that look nearly identical can have different dimensions, stem shapes, or internal configurations.
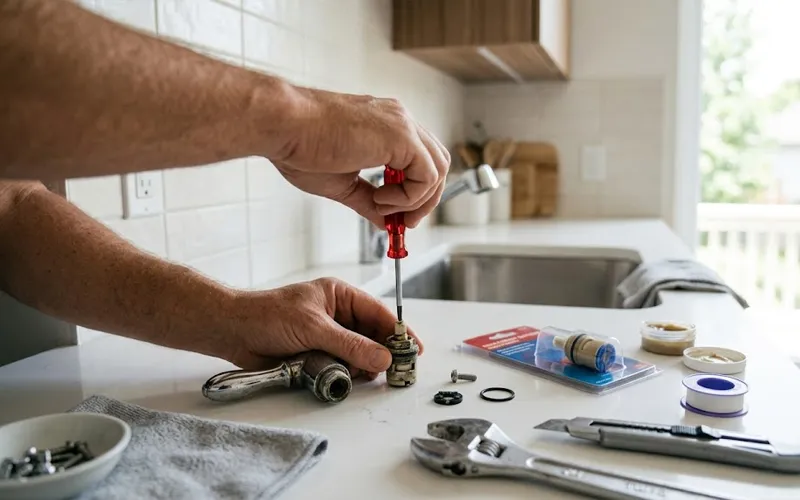
When replacing a part, install it in the same orientation as the original. Do not force a component into position. If it does not fit correctly, check whether you have the right replacement rather than using excessive pressure.
On many single-handle faucets, replacing the cartridge is an important part of the repair when the cartridge or its seals are worn. The replacement must match the specific faucet model.
With a two-handle faucet, first determine whether the leak is coming from the hot side, cold side, or both. This helps you identify which valve or internal component needs attention and is especially useful when learning how to fix a leaky faucet with two handles.
Examine the Seals and O-Rings
After dealing with the main valve component, inspect the smaller rubber seals and O-rings around the faucet mechanism. These parts can become brittle, stretched, flattened, or cracked with age.
A damaged O-ring can allow water to escape around the handle or body even when the main valve is functioning correctly. If one is clearly worn, replace it with a matching size.
Before installing the new seal, clean the groove where it sits. The seal needs to rest evenly in its proper position. If the faucet manufacturer specifies a suitable lubricant for the O-ring, use the recommended type rather than applying an unsuitable household product.
Checking these smaller components can prevent you from replacing a larger part unnecessarily. A worn seal may be enough to cause a leak even when the cartridge or valve itself is still usable.
Clean Mineral Buildup and Debris
Hard water can leave mineral deposits on faucet components. These deposits may prevent parts from moving correctly or stop sealing surfaces from meeting evenly.
Remove accessible buildup carefully using an appropriate cleaning method for the faucet material. Avoid aggressive scraping that could scratch polished or precision sealing surfaces. Small particles and debris should also be removed before the mechanism is reassembled.
Cleaning can restore proper operation when deposits are the main problem, but it cannot repair a cracked cartridge, badly worn washer, broken seal, or damaged valve. A component that has physically deteriorated should be replaced.
For faucets in a bathroom or shower area, mineral deposits can be especially noticeable around water outlets and moving components. Cleaning these areas during maintenance can help keep the faucet operating smoothly.
Reassemble the Faucet Correctly
After the necessary component has been replaced and the parts are clean, put the faucet back together in the reverse order of disassembly.
Make sure clips, retaining nuts, seals, and other components are positioned correctly. Reinstall the handle and secure its screw or fastener. Tighten connections firmly, but avoid excessive force. Over-tightening can damage threads, distort rubber seals, or make future repairs more difficult.
If you took a photo before starting, compare the reassembled faucet with the original arrangement. This can help confirm that the handle and visible components are positioned correctly. Following the original order carefully is one of the simplest ways to avoid problems after completing the repair.
Restore the Water and Test the Repair
Turn the water supply back on slowly instead of opening it suddenly. Watch the faucet as pressure returns to the line. This testing stage is an important final part of how to fix a dripping faucet step by step because it confirms whether the replacement or adjustment actually solved the problem.
Close the faucet completely and observe the spout for several moments. There should be no continuing drip. Move the handle through its normal range and check whether the water starts and stops smoothly.
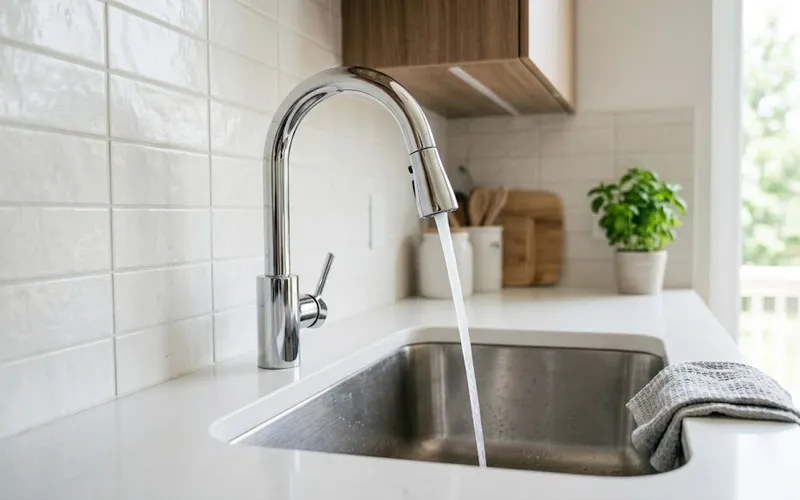
Also inspect the area around the handle and any accessible connections. A repair should not introduce a new leak elsewhere. If everything remains dry and the faucet operates normally, the repair is complete.
If the faucet is in a bathroom or shower, allow the water to run briefly and then shut it off completely. Watch the outlet and surrounding trim for continued moisture before considering the repair finished.
What to Do If the Drip Continues
If water still comes from the spout after replacing the suspected component, the original diagnosis may have been incomplete. The valve seat or another internal sealing surface may be damaged, or the replacement component may not match the faucet correctly.
Check that every part was installed in the correct orientation and that no seal was left out during reassembly. Also verify that the replacement component matches the faucet’s model.
If the faucet is heavily corroded, the body itself is damaged, or several internal components are worn, repairing individual parts may no longer be worthwhile. In such cases, replacing the fixture can be more practical than continuing to repair it.
When a repair does not solve the drip, avoid repeatedly replacing random components. Going back through the faucet type, leak location, and internal mechanism can help identify the actual source of the problem.
When to Call a Plumber
A basic faucet repair is usually manageable when the problem is limited to an accessible internal component. However, some situations involve plumbing problems that go beyond the faucet itself.
Professional help is a better choice if water is leaking inside a wall or cabinet, a supply pipe is damaged, a shutoff valve will not operate, or there are signs of significant water damage. You should also stop if removing a corroded component requires excessive force that could damage the plumbing connection.
The goal of a DIY repair is to solve the original problem safely. If continuing the repair could turn a small faucet issue into a larger plumbing leak, getting professional assistance is the safer option.
How to Prevent Future Faucet Drips
Once the faucet is repaired, simple maintenance can help extend the life of its internal components. Avoid forcing the handle beyond its normal range, and deal with small leaks as soon as they appear rather than allowing them to continue for months.
If your home has hard water, periodic cleaning of accessible faucet parts can reduce mineral buildup. It is also useful to keep the manufacturer’s model information because finding the correct replacement component becomes much easier when the faucet needs another repair.
Regularly checking the area beneath the sink can also help you notice moisture around supply connections before a small plumbing problem becomes more serious.
Understanding how to fix a dripping faucet step by step can also make future maintenance easier because you become familiar with the faucet’s basic parts and how they work together. Early attention to small leaks can prevent more complicated repairs later.
Final Thoughts
A dripping faucet does not automatically mean that the entire fixture needs to be replaced. The most effective approach is to identify the faucet type, locate the source of the problem, shut off the water, inspect the internal mechanism, and replace only the component that is actually damaged.
Taking the repair one stage at a time makes the process easier to manage and reduces the chance of damaging the faucet. Using correctly matched replacement parts and testing the fixture carefully after reassembly can also help ensure that the repair solves the problem rather than temporarily hiding it. For anyone learning how to fix a dripping faucet step by step, careful diagnosis is just as important as the repair itself.
Frequently Asked Questions
1. Why is my faucet still dripping after I turn it off?
A worn washer, cartridge, O-ring, or mineral buildup may stop the faucet from sealing properly. Checking the internal components can help identify the cause.
2. Can I fix a dripping faucet myself?
Yes. Many simple faucet leaks can be fixed at home with basic tools and the correct replacement part. The exact process depends on whether the faucet has one handle, two handles, a cartridge, or another type of mechanism.
3. What is the most common cause of a dripping faucet?
Common causes include worn washers, damaged cartridges, bad O-rings, and mineral buildup. Identifying the exact cause before replacing a part can prevent unnecessary repairs.
4. How do I fix a single-handle dripping faucet?
Turn off the water, remove the handle, inspect the cartridge or seals, replace the damaged part, and test the faucet. The replacement cartridge should match the faucet’s specific model.
5. How do I know which faucet part needs replacing?
Check where the water is leaking and inspect the internal parts for visible wear, cracks, or damaged seals. The location and type of leak can help narrow down the faulty component.
6. Why is my faucet leaking around the handle?
A worn O-ring, seal, or cartridge can cause water to leak around the handle. Inspecting these parts after removing the handle can help locate the problem.
7. Can hard water cause a faucet to drip?
Yes. Mineral deposits can interfere with the faucet’s sealing parts and cause dripping. Cleaning accessible buildup may help when deposits are the main issue.
8. Should I repair or replace my dripping faucet?
Repair it if only a small part is damaged. Replace it if the faucet is badly corroded, cracked, or repeatedly leaking after the appropriate components have been replaced.
Want more DIY and repair ideas? Explore helpful tips and the latest trends on TrendsMore.com.